#4 Preparing for the roof!
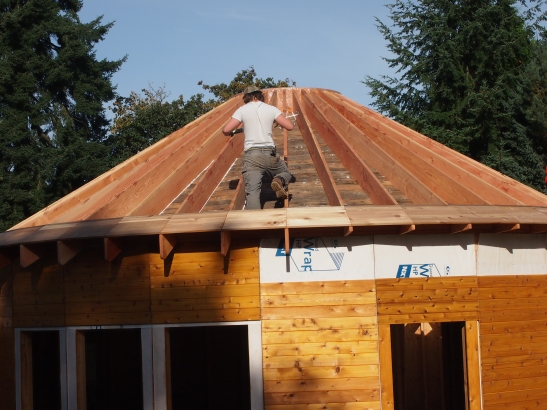
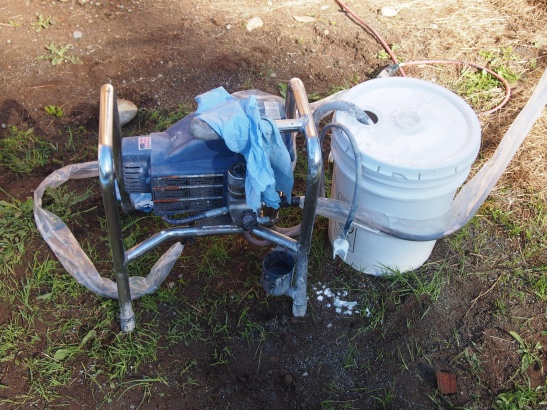
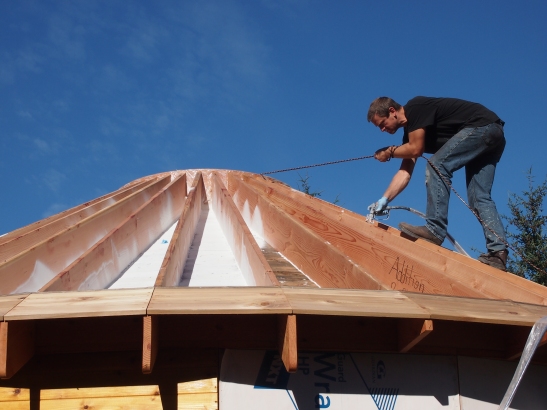
Yesterday Matthew and Corbin prepared the roof for the Roxul mineral wool insulation that was being installed next Monday. We will install DB+ vapor barrier underneath the Roxul. More detailed info to come.
Materials:
Stain (Made in Belguim): http://rubiomonocoatusa.com/ Color: Cherry Coral
Caulk (Made in USA): http://ecobondadhesives.com/ Used Multipurpose and Windows Doors & Trim
Paint & Primer (Made in Portland): http://www.colorhousepaint.com/ Color: Air 01
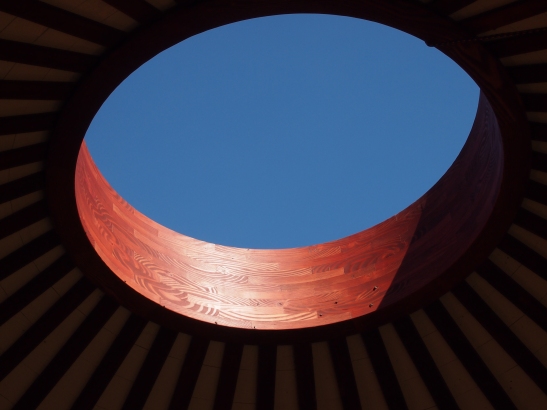
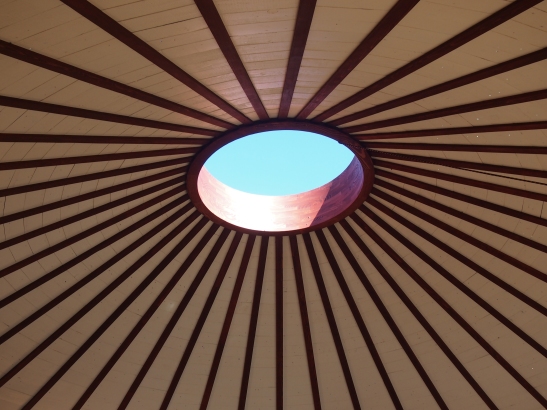
This was the first time we could see the light coming through the stained compression ring. Awesome color!

How do you prevent termites from attacking the wood? Was there an eco-friendly treatment used on the wood?
LikeLike
the termites found in the pacific northwest only attack wet wood, so if your foundation keeps any wood from touching soil, grass, etc. you’re safe.
LikeLike
The wood on the ceiling/roof was primed & painted on the inside and primed on the outside. Then a layer of vapor barrier will go in (DB+), then the insulation (Roxul Comfortbatt mineral wool), and we are searching for an alternative tar paper to go on top of that. Then a metal roof is put on. If termites can get through that, more power to them. I just don’t think it’s possible.
I do know that a NON eco-friendly treatment was used on the outside cedar panels of the yurt. A product called Sikkens Wood Finishes, Cetol SRD Translucent Wood Finish. Color Natural 078. Matthew, our contractor, used this for his yurt. He had had a horrible experience with a eco-friendly product on another project and advised against it. Not sure what that product was. To be honest, at the beginning of the build we were just getting our bearings and hadn’t realized the time constraints involved in finding alternative products. So a lot of what we had hoped would be eco turned out not to be. But we are on a roll now so hopefully we’ll be able to do better for the rest. I am planning on doing a post about the products that aren’t eco-friendly. This is by no means a completely eco house. But it’s as close as we could get.
LikeLike
Love the light. A decent appreciation for windows and light can do so much to make a space feel bigger – can’t wait to see the finished yurt!
LikeLike
Yes, John and I were just talking about how you guys need to come out and visit us. We’d love to have you any time.
LikeLike
wow more beautiful than I even imagined!
LikeLike
Thanks!!!
LikeLike